Plugin Setup
Once you have successfully installed the Plugin, you can start using it by following the steps below.
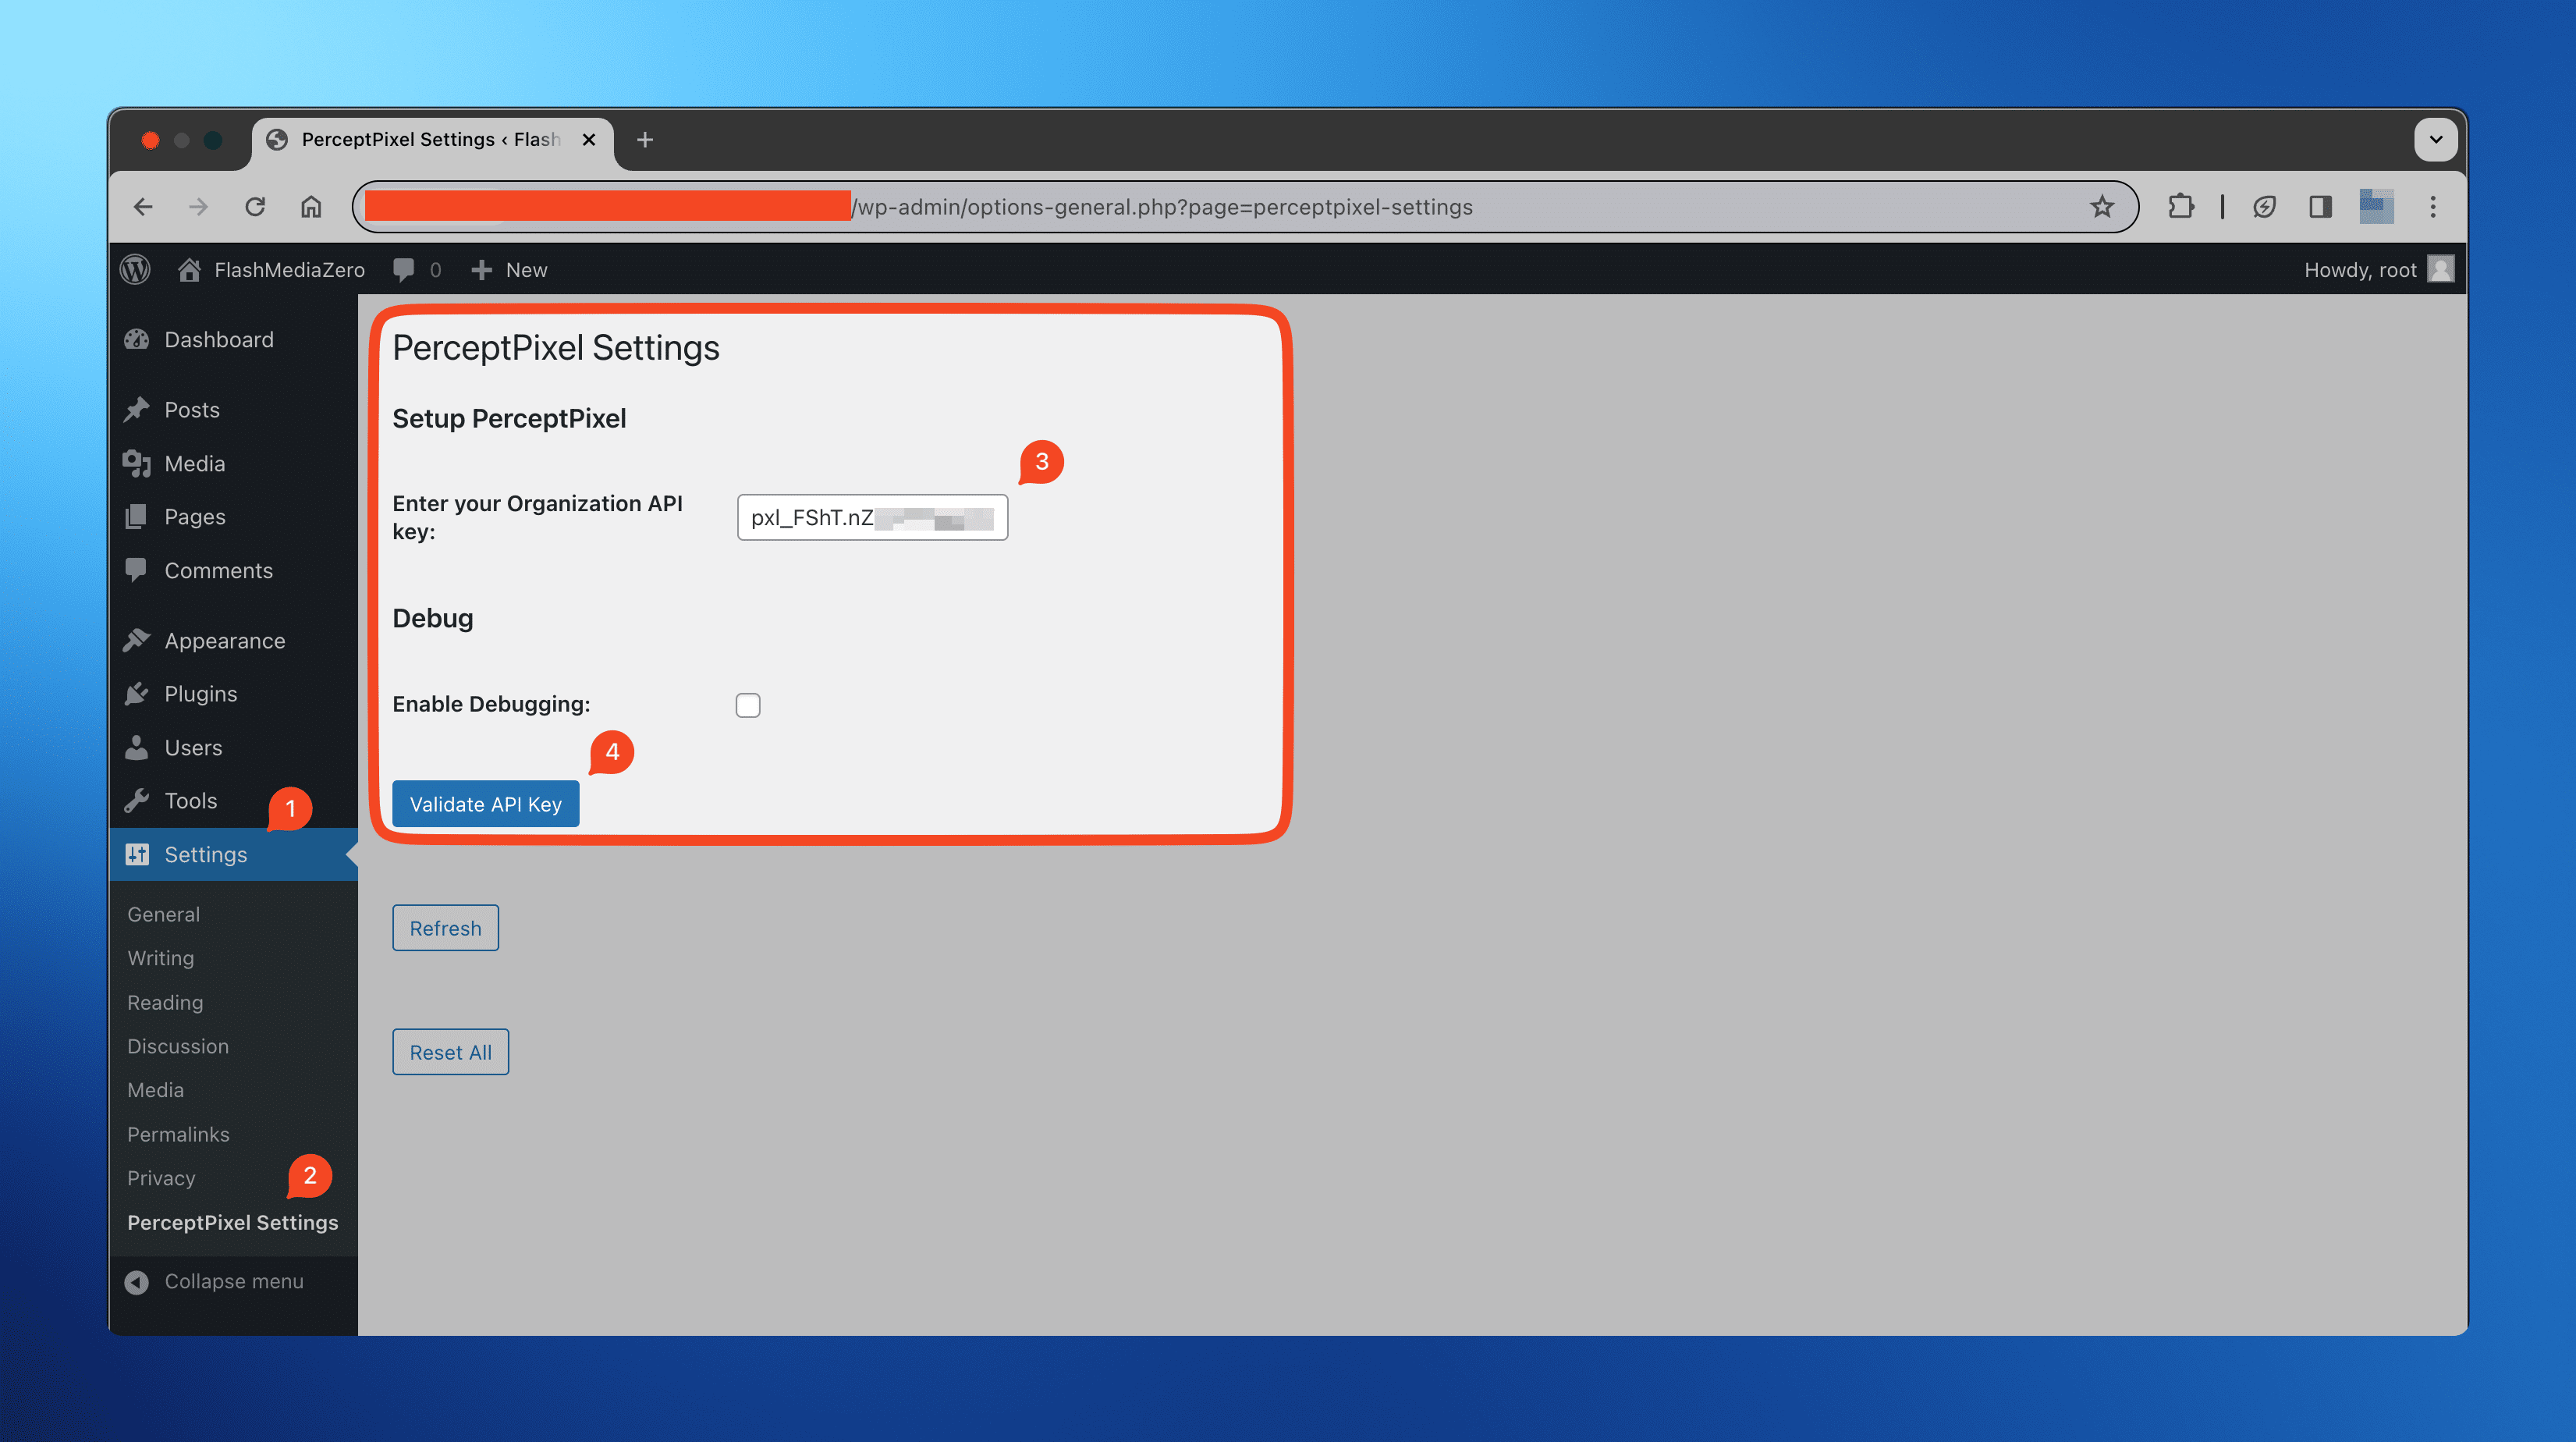
Step 1: Validate your API Key
- Follow the steps mentioned in API Keys to create an API Key.
- Have the API Key (of the format
pxl_XXXX.YY...) ready for the next steps. - Open the Plugin Settings Page by clicking on "Settings" in the WordPress Admin Panel sidebar, then clicking on "PerceptPixel Settings".
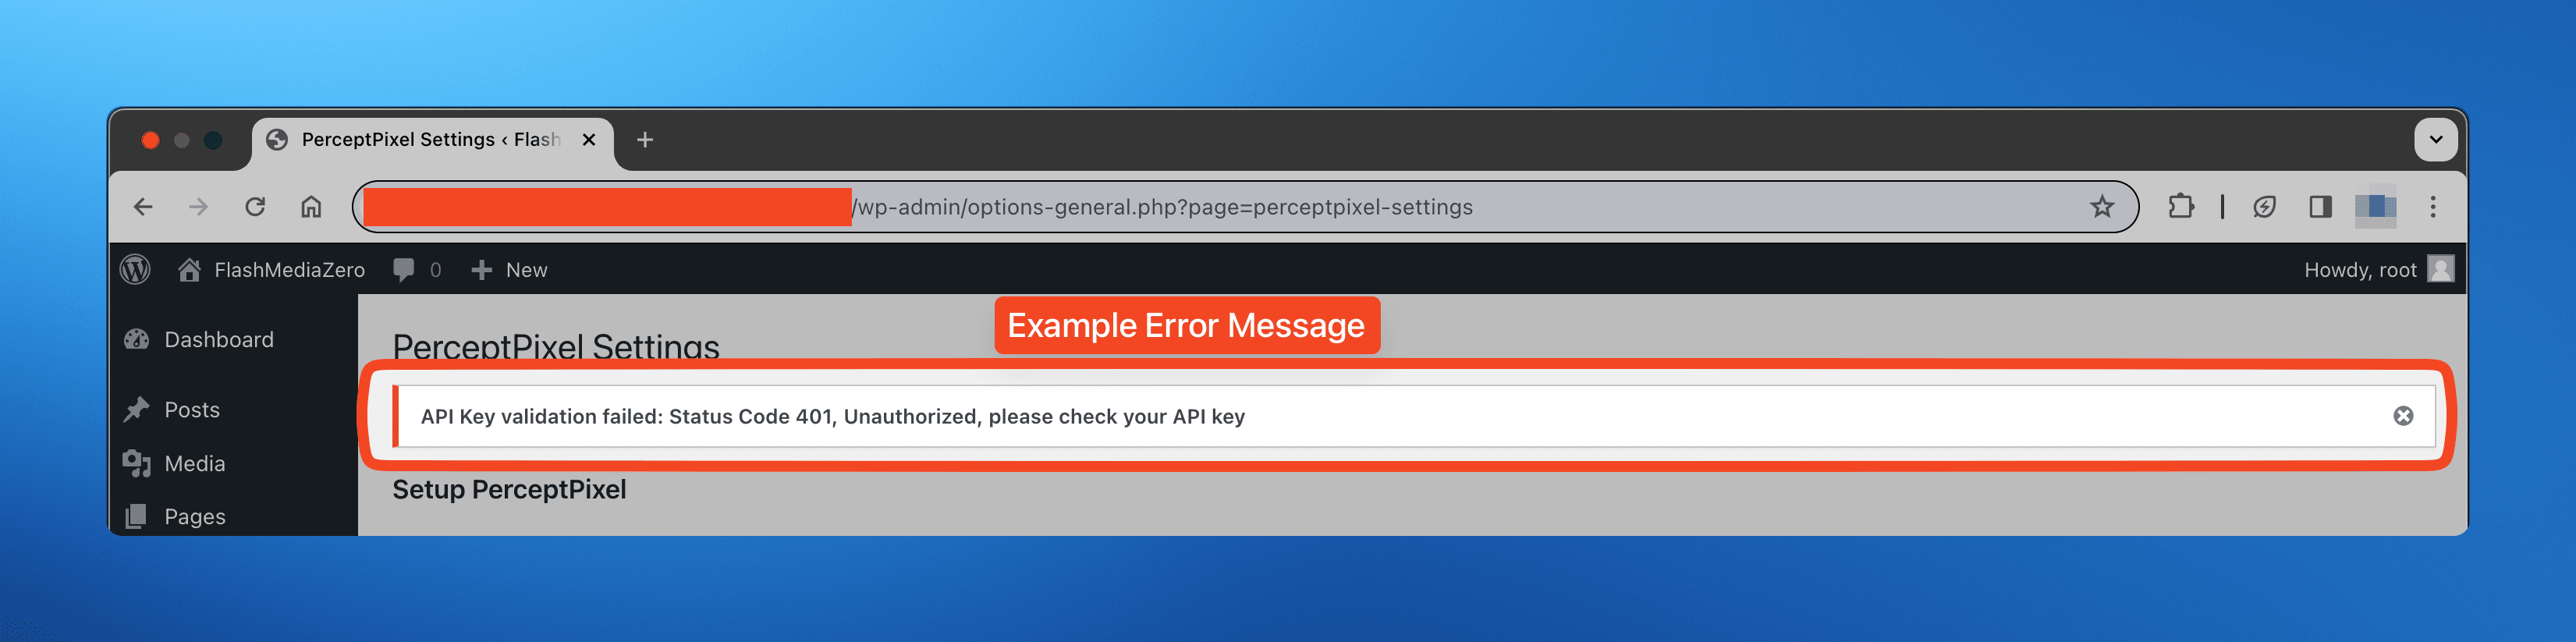
- Paste the API Key in the "Enter your Organization API key" field and click on "Validate API Key".
- If the API Key is valid, you will see a success message, "Settings Saved". If the API Key is invalid, you will see an error message that starts with "API Key validation failed" with some details about what went wrong.
Step 2: Enable the Plugin
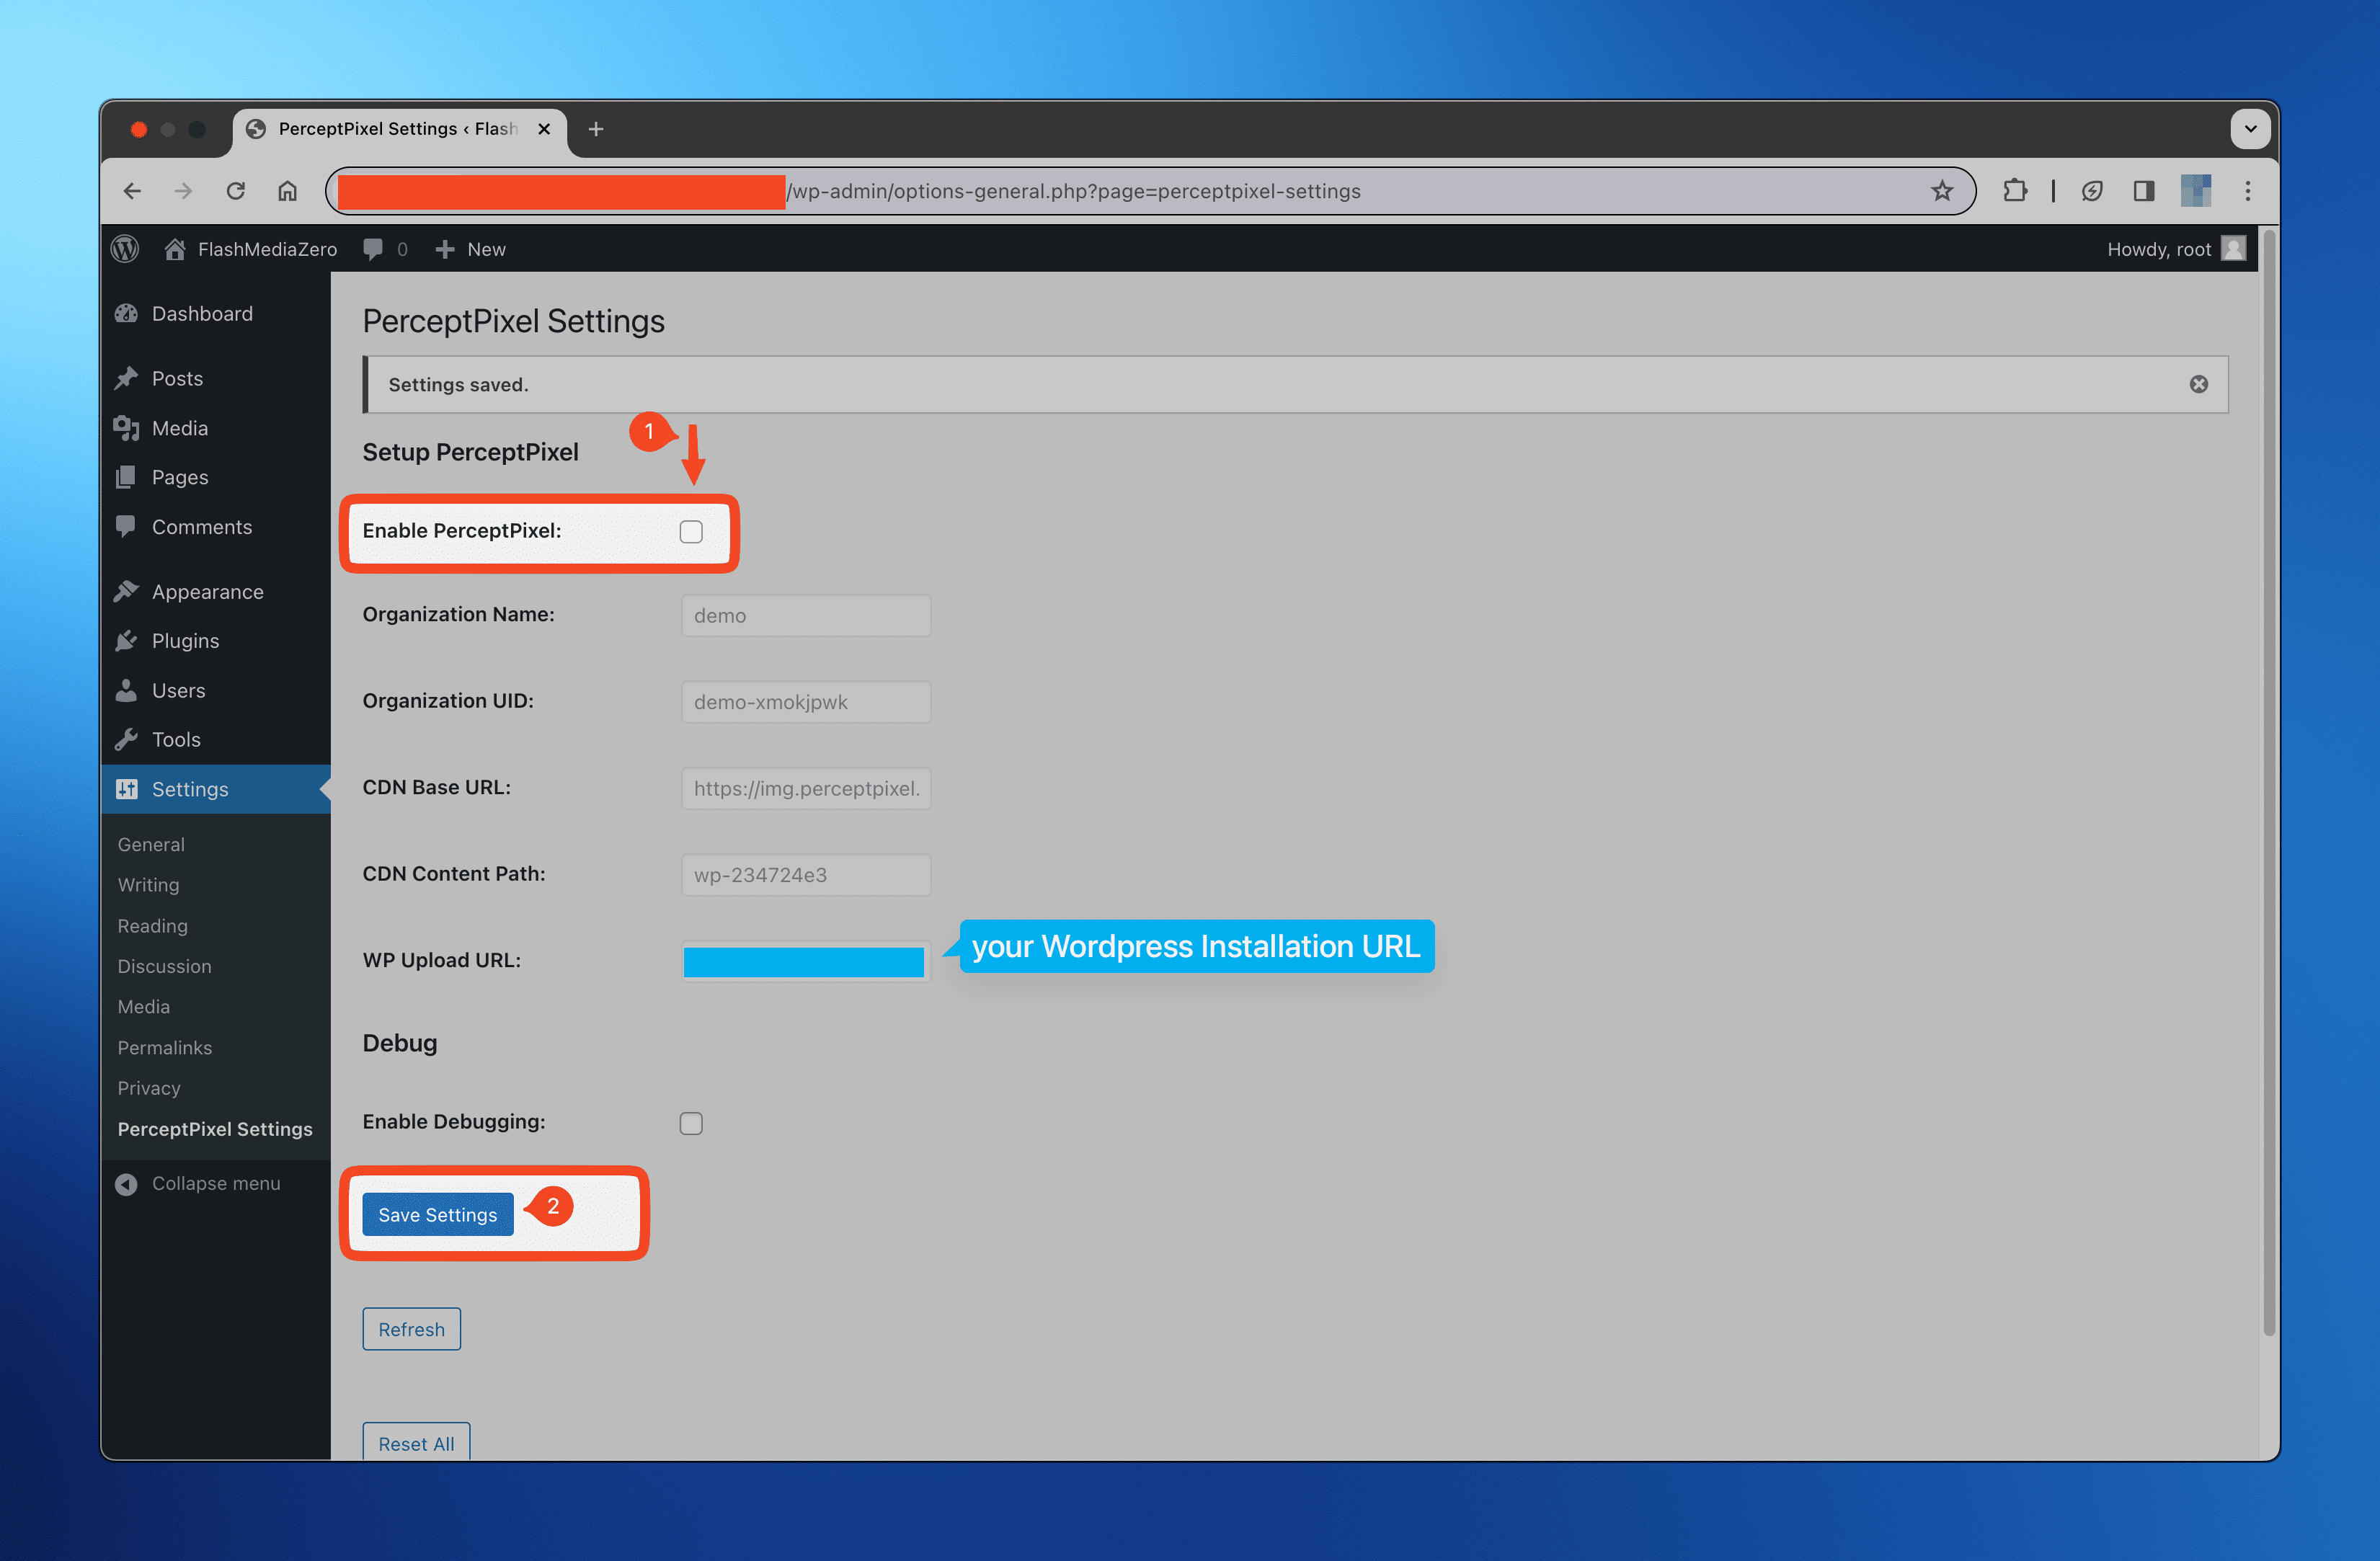
- Once the API Key is validated, you should see a few more settings appear on the page.
- Validate that the "WP Upload URL" setting is correct, i.e., points to your current WordPress uploads directory.
- You can enable the Plugin by toggling the "Enable Plugin" checkbox to "checked", and then clicking on "Save Changes".
- Once the changes are saved, the Plugin will start using the PerceptPixel CDN to serve optimized images on your website.
warning
The Plugin will not do anything unless the "Enable Plugin" checkbox is checked, and subsequently saved. If you need to disable the Plugin, you can uncheck the checkbox and save the changes.
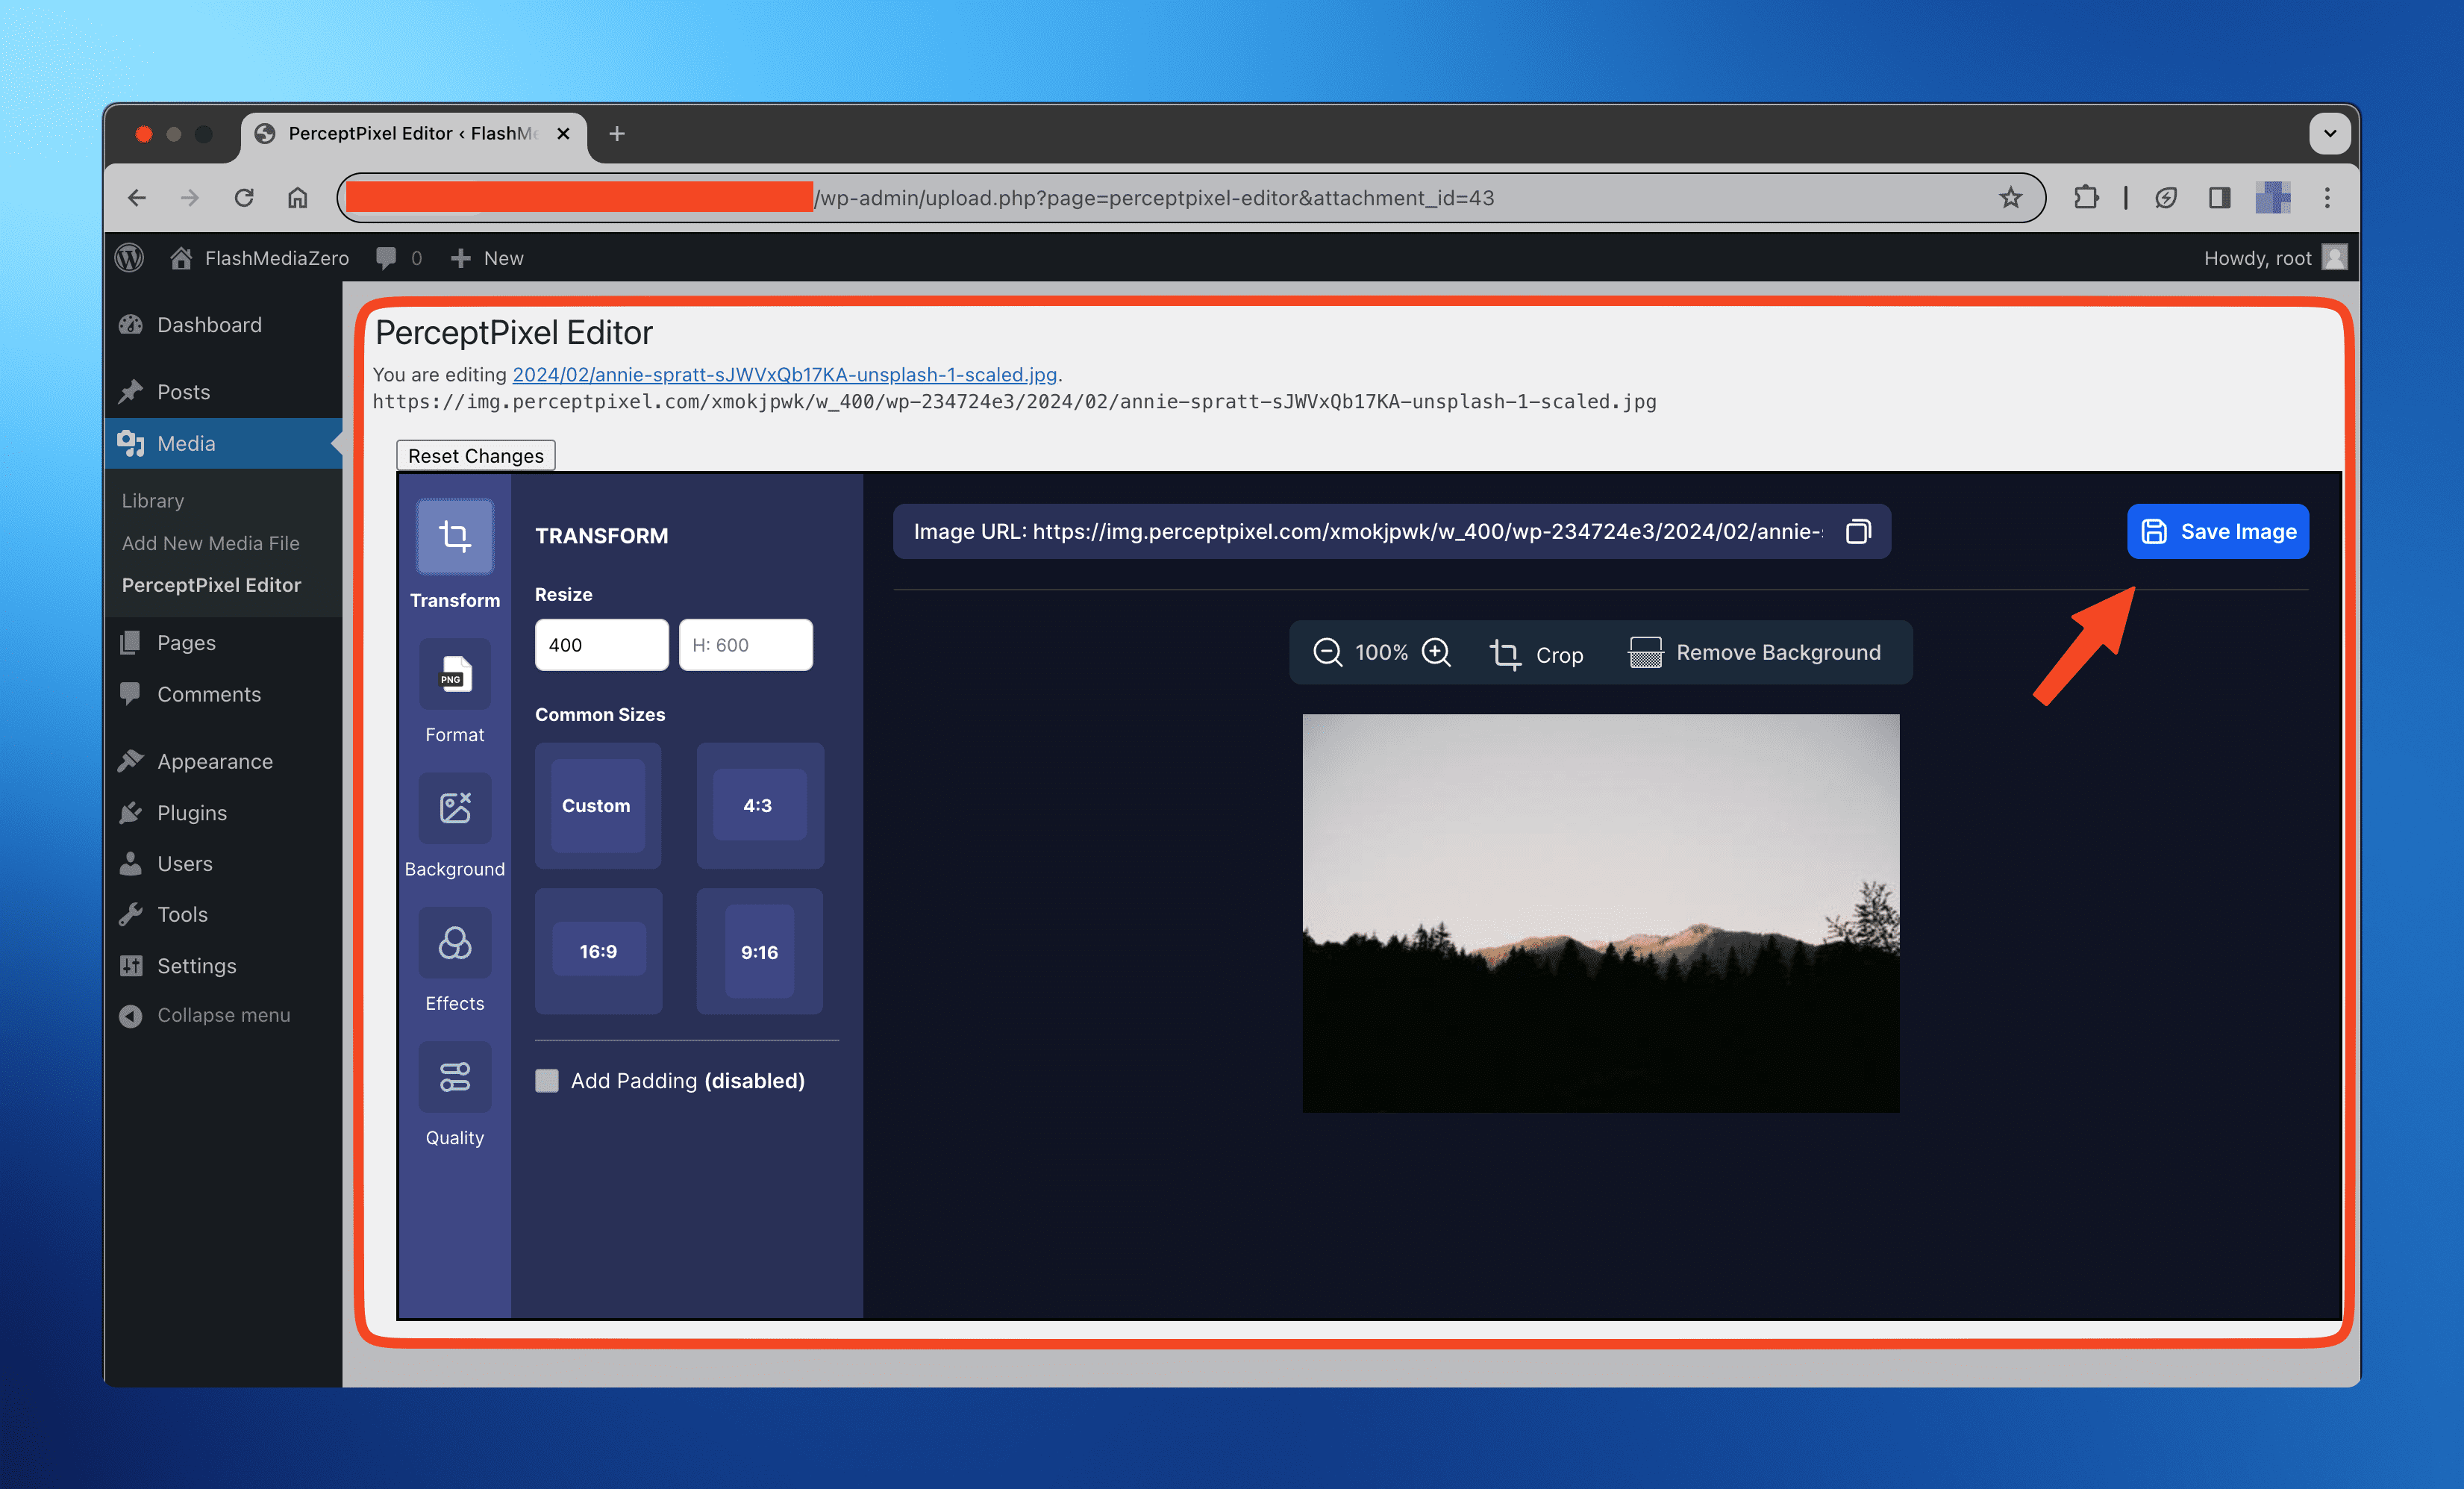
Step 3: Use the PerceptPixel Editor
- Once the Plugin is enabled, you can use the capabilities of the PerceptPixel Editor to make changes to your images on the fly.
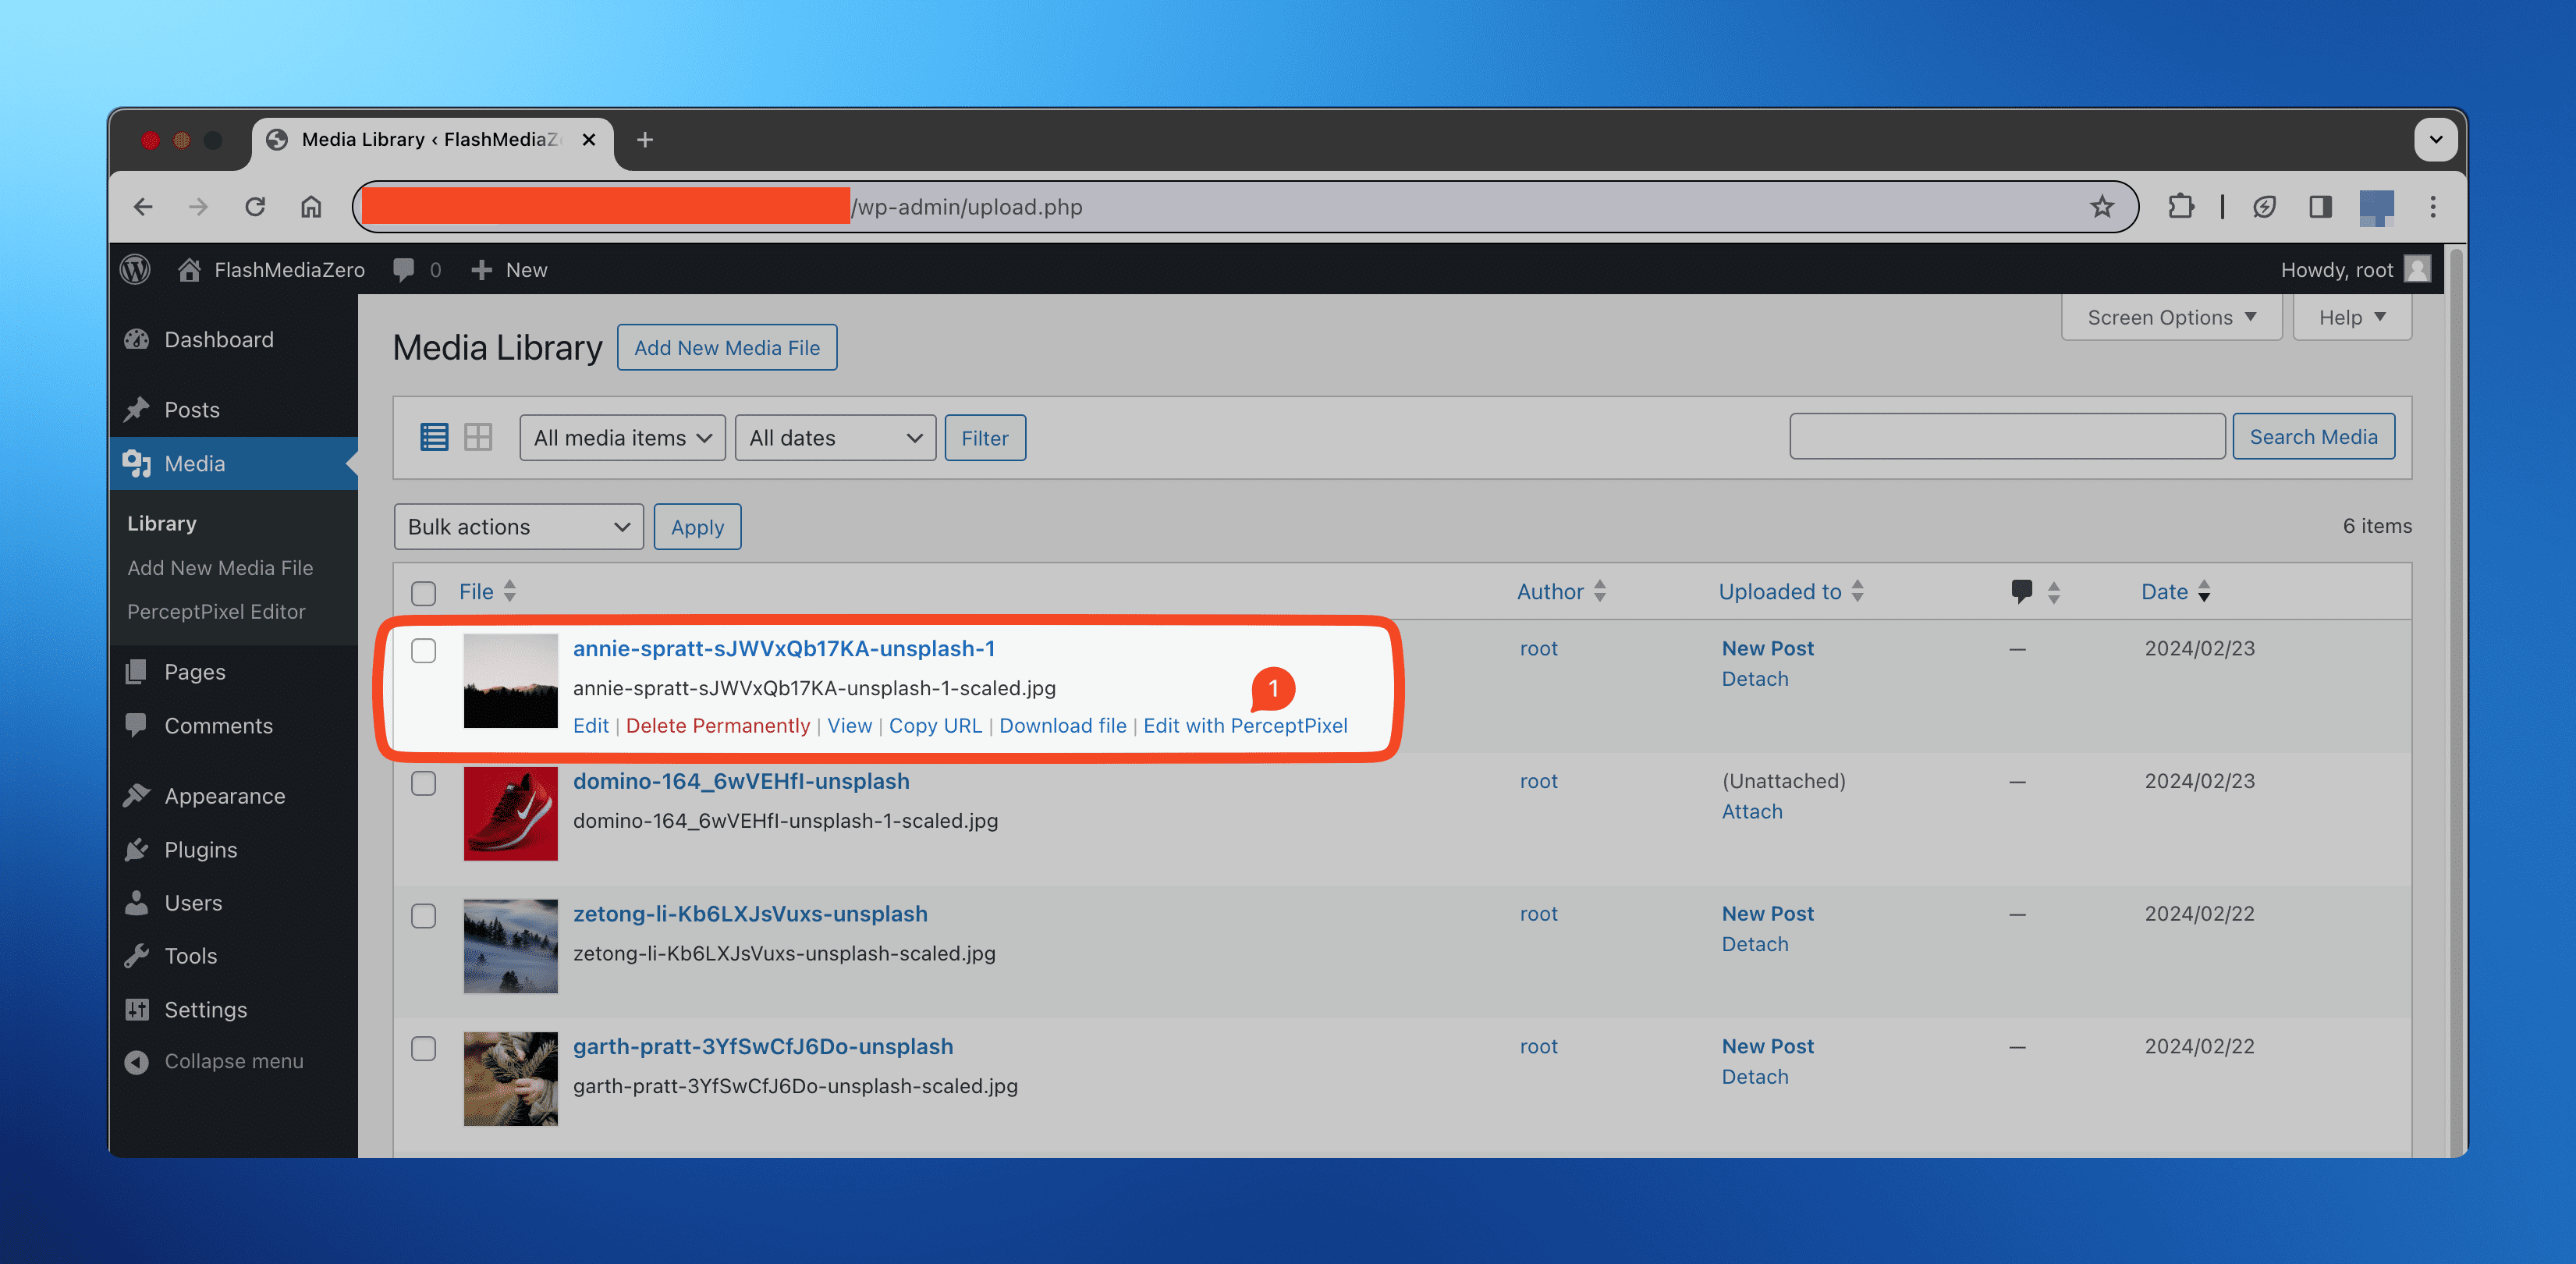
- You may use the editor from the "Media Library" where you can see a new "Edit with PerceptPixel" button for each image.
- Make the necessary changes to the image using the editor, and click on "Save" to save the changes. These changes will be reflected without any additional steps on your website, wherever the image is used.
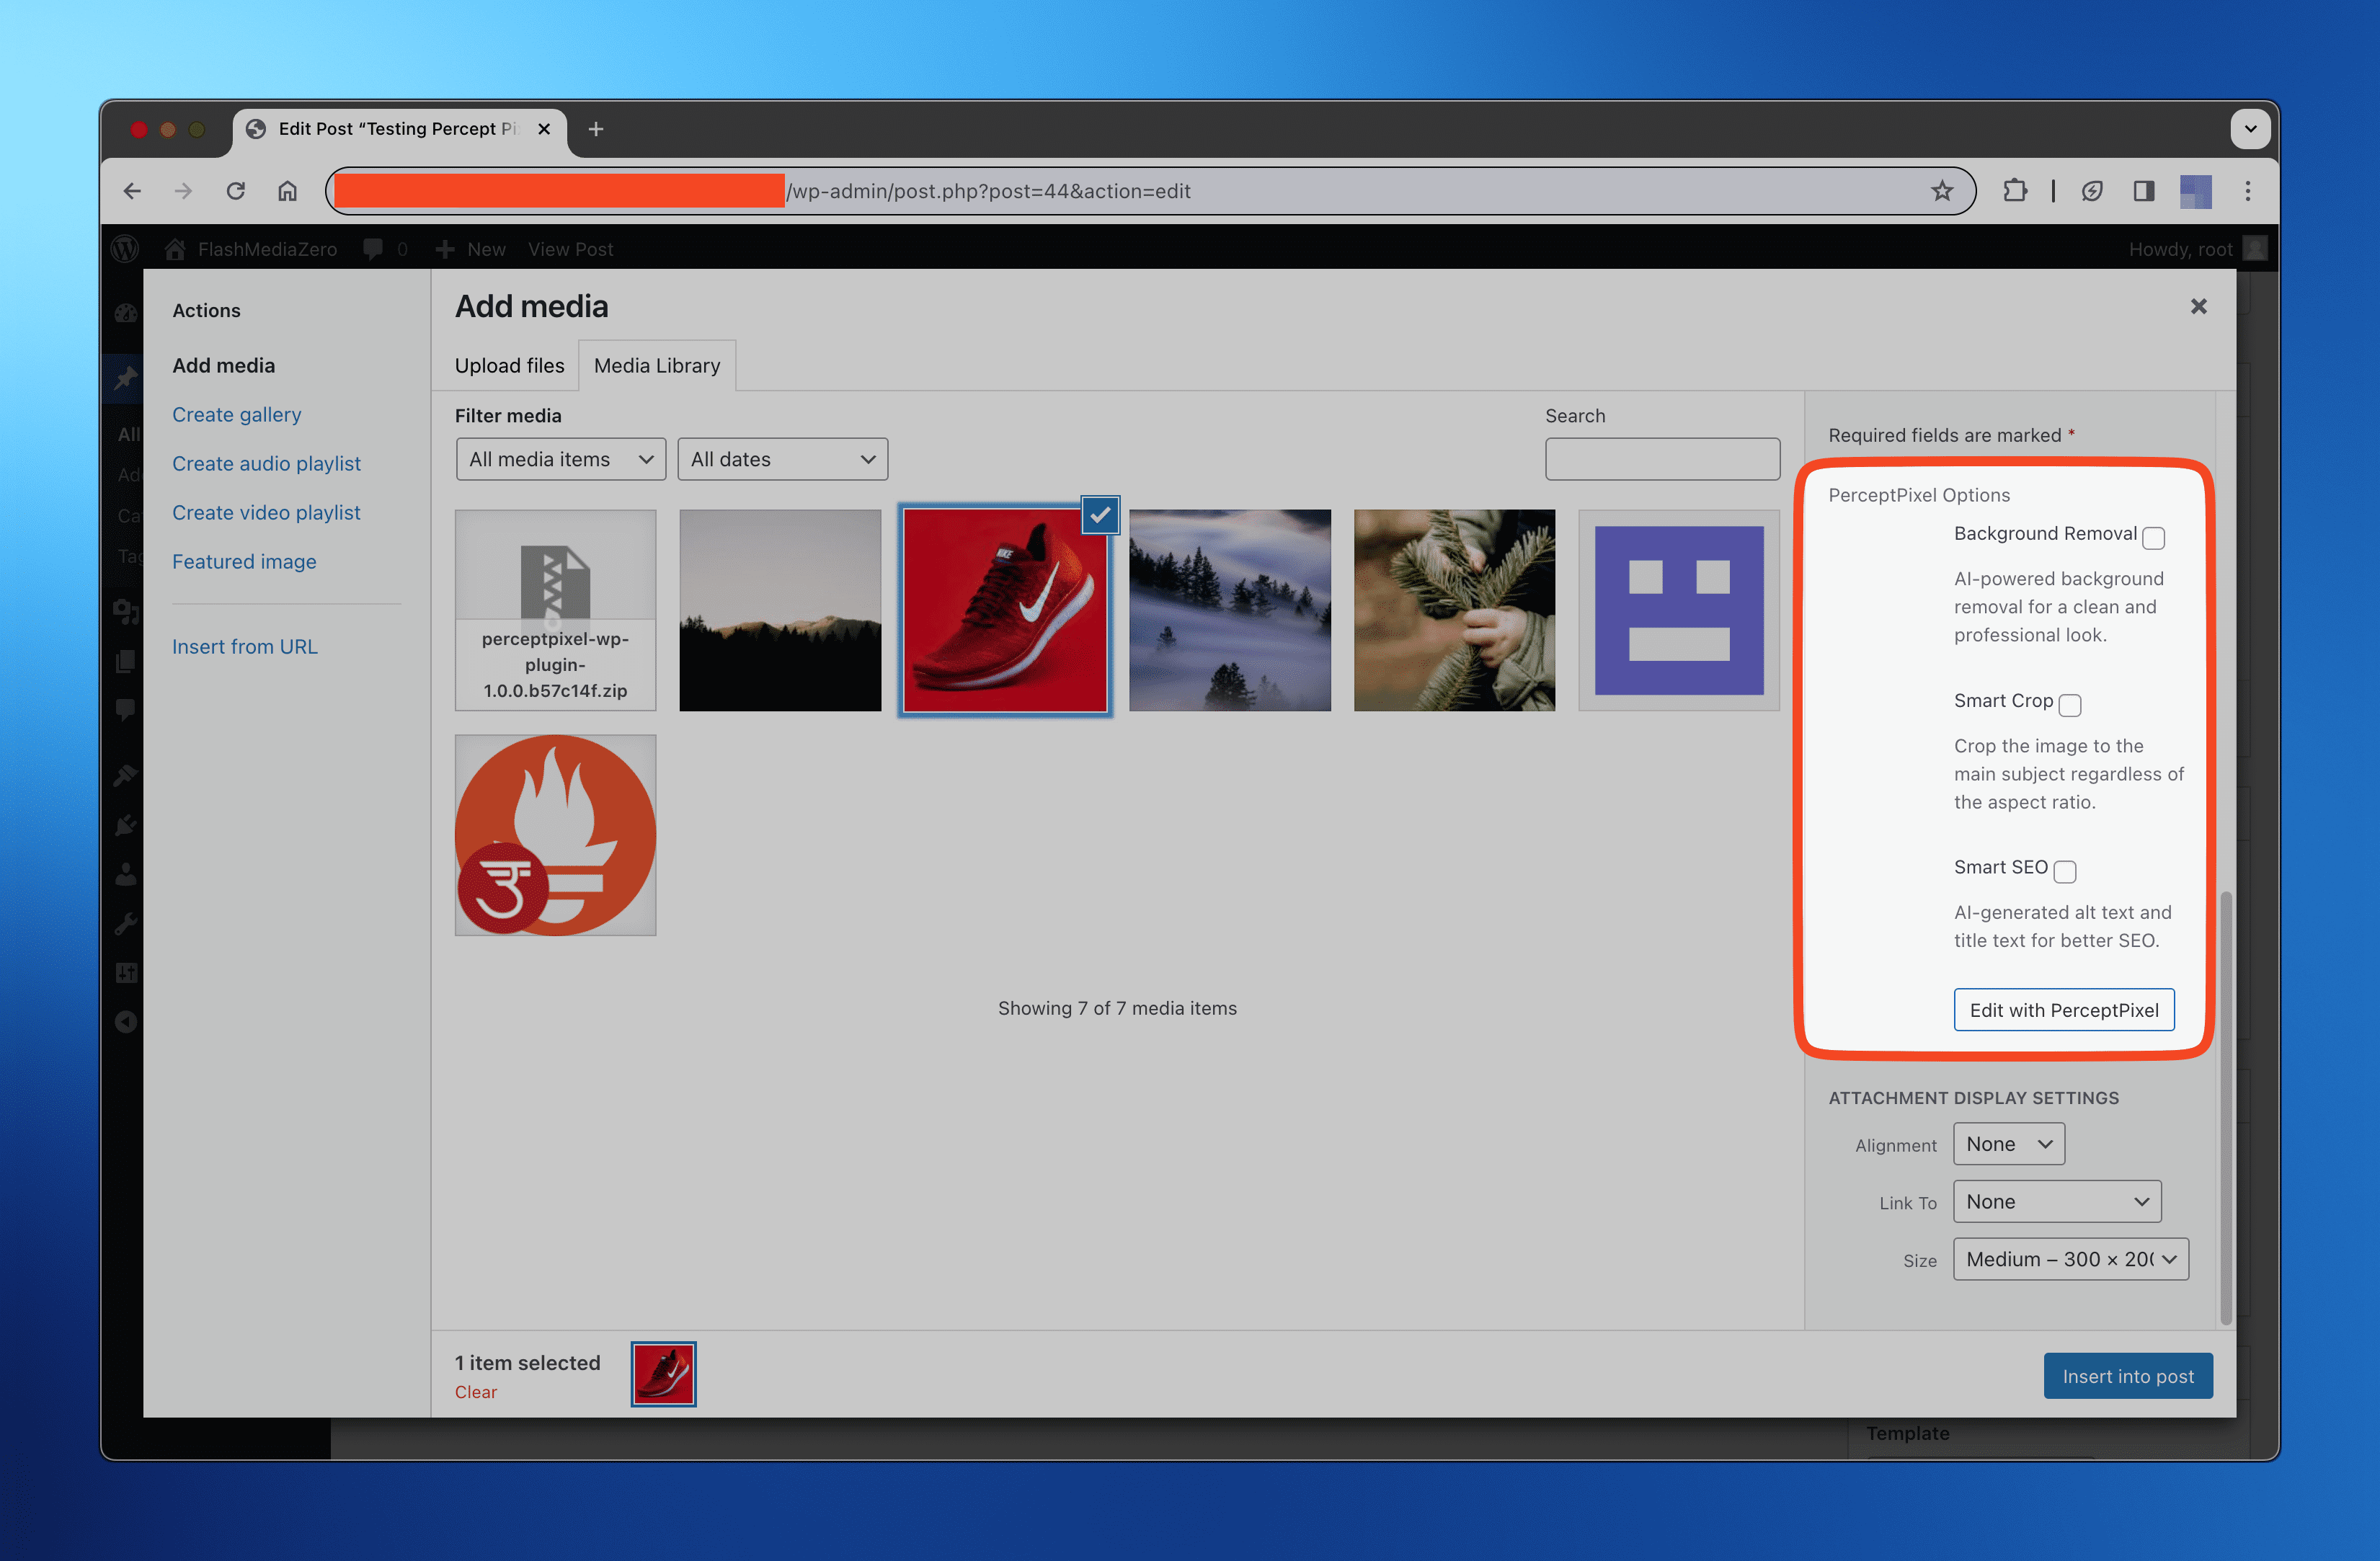
- You may also use the editor before inserting an image into a post. In the "Add Media" dialog sidebar, under the "PerceptPixel Options" title, you can begin by choosing a few Quick Edit options, or opening the full editor by clicking on the "Edit with PerceptPixel".